
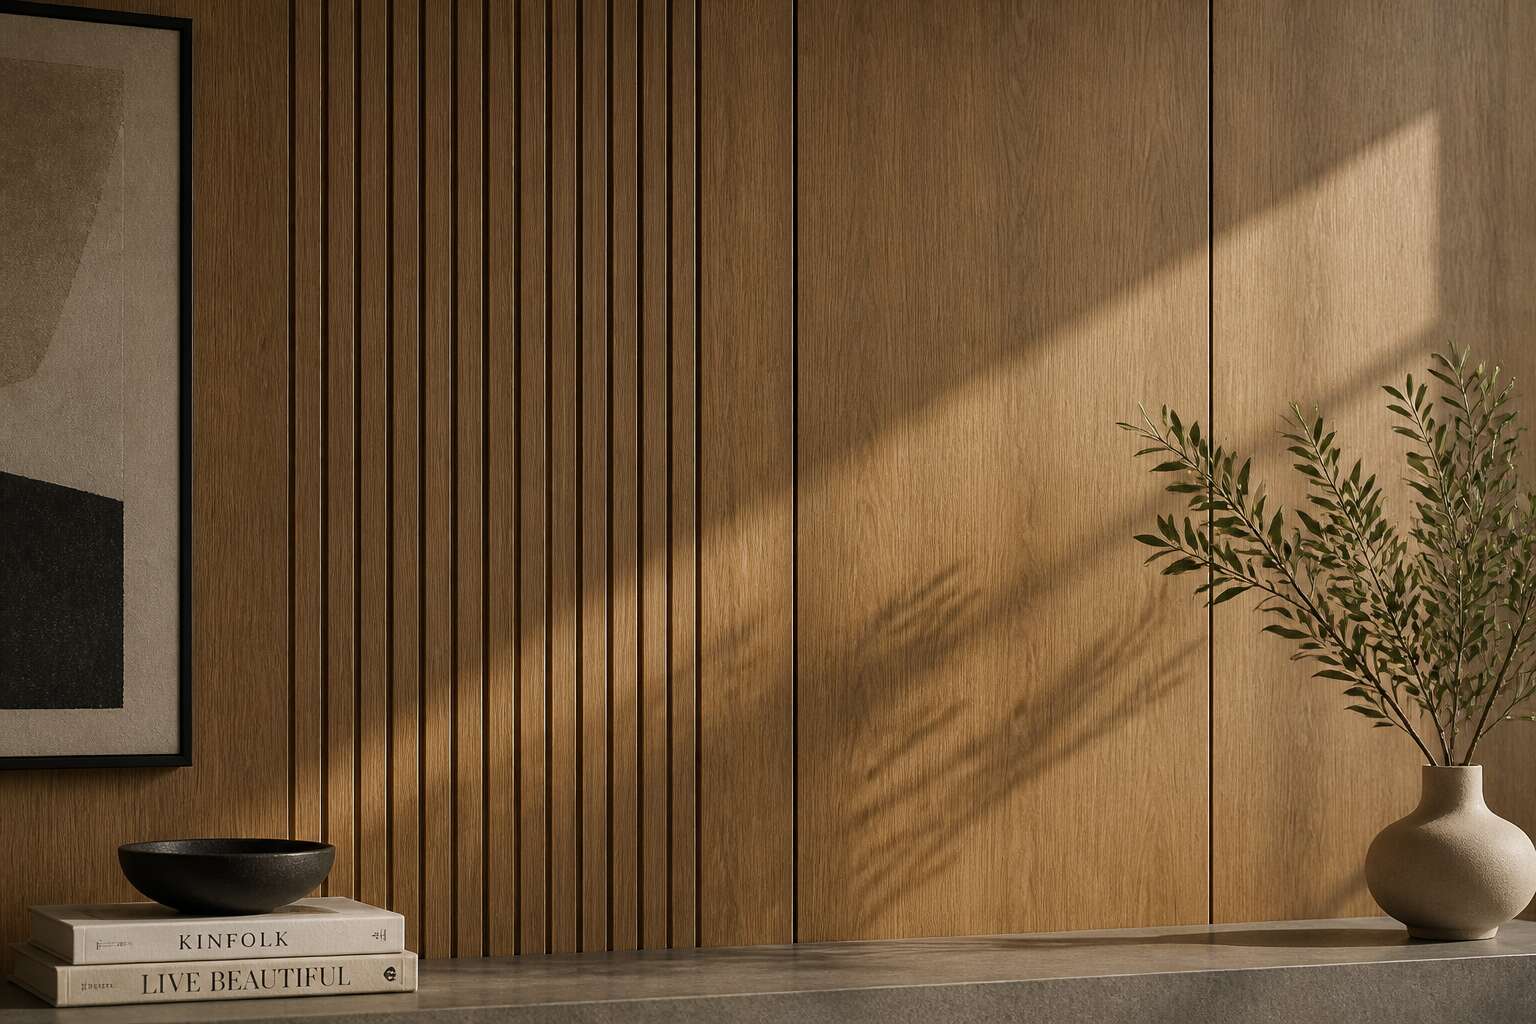
Why Choose Slimline 10mm Cladding
In the unforgiving heat of a Karoo summer, a wall’s thickness often proves its undoing. Bulkier panels expand, shift, betraying the structure beneath. That is why I find myself drawn to the quiet precision of wall cladding 10mm, a sliver of engineered resilience that refuses to buckle.
The slim profile hides its potency. It attaches tightly to elevations, offering thermal buffer without the clumsy footprint of heavier systems. On an old Cape cottage, I have seen it transform tired brick into something stoic.
- It reduces load on foundational walls.
- It installs faster, sparing you days of dust.
- It takes paint and texture with equal patience.
For South African homes, wall cladding 10mm answers a particular demand. Rain, glare, the constant pull of groundwater, all meet a barrier that stays true. My own preference is for the matte finishes, they hide the years better.
Popular Materials for 10mm Wall Panels
When you settle on wall cladding 10mm, you are deciding what sits between your room and the world. In South Africa, that choice is practical and personal. Different materials respond to heat, moisture, and noise in distinct ways.
Popular options include:
- Fibre cement. It resists moisture and fire, making it a sturdy pick.
- PVC. Lightweight and easy to clean, yet it can warp under intense sun.
- Aluminium composite. Strong and sleek, though pricier.
That thickness gives enough rigidity for most homes without the bulk of heavier cladding. I have seen 10mm panels turn a cramped passage into something airy. Choose based on your climate, not just aesthetics.
Installation Methods for Thin Cladding
Thin cladding demands a lighter touch, yet precision becomes everything. For wall cladding 10mm, the substrate must be perfectly flat, or you will see every flaw at the joints.
I prefer a fully adhesive method for panels this size. You spread a notched trowel over the surface, then press each sheet firmly into place. Mechanical fixings are often unnecessary, which keeps the facade clean. That said, some sites require extra security. Here is what I typically check before starting:
- Substrate moisture levels under 12%
- Edge gaps of 3 to 5mm for thermal movement
- Staggered joints to avoid weak vertical lines
Allow each adhesive layer to cure slowly. The reward is a seamless finish that defies the thin profile. Wall cladding 10mm performs beautifully when installation respects its limits.
Maintenance and Durability Considerations
Wall cladding 10mm endures, but its lifespan depends on local conditions. In South Africa, coastal air carries salt that accelerates corrosion on metal fittings. Inland, intense sun breaks down surface pigments over time.
What I have observed after years of site visits is that maintenance is less about effort and more about awareness. The material demands attention, not perfection. Some panels fail due to hidden moisture. Others thrive because the owner simply noticed a loose edge early.
Consider these durability factors:
- Moisture trapped behind the cladding promotes rot and warping.
- Pollution and industrial fallout can etch the surface.
- Thermal expansion causes minor movement that stresses fixings.
Each of these elements interacts with your specific environment. A house in Durban faces different pressures than one in Johannesburg. Understanding that difference is the first step toward lasting performance.
Applications and Styling Ideas
In South African homes, the 10mm profile has become a standard choice for interior renovation. I have seen it transform drab passageways into textured feature walls, and modest braai areas into focal points that draw people in. The appeal of wall cladding 10mm lies in its balance, thick enough to feel substantial, yet slim enough to layer over existing surfaces without major construction.
Consider pairing wall cladding 10mm with industrial accents like raw steel or exposed concrete. The contrast works beautifully. Alternatively, paint it in a deep forest green for a moody, intimate atmosphere. When applied vertically, it adds perceived height, a clever trick for low ceilings.
- Use it on a single alcove wall to frame a fireplace or built-in shelving.
- Apply it behind a kitchen counter to introduce texture without overwhelming the space.
- Run it horizontally across a bathroom vanity for a clean, spa-like rhythm.
What I find compelling is how affordable this material remains for the visual weight it carries. It genuinely surprises clients every time!

0 Comments